Monday, December 8, 2014

Tin and decisions.

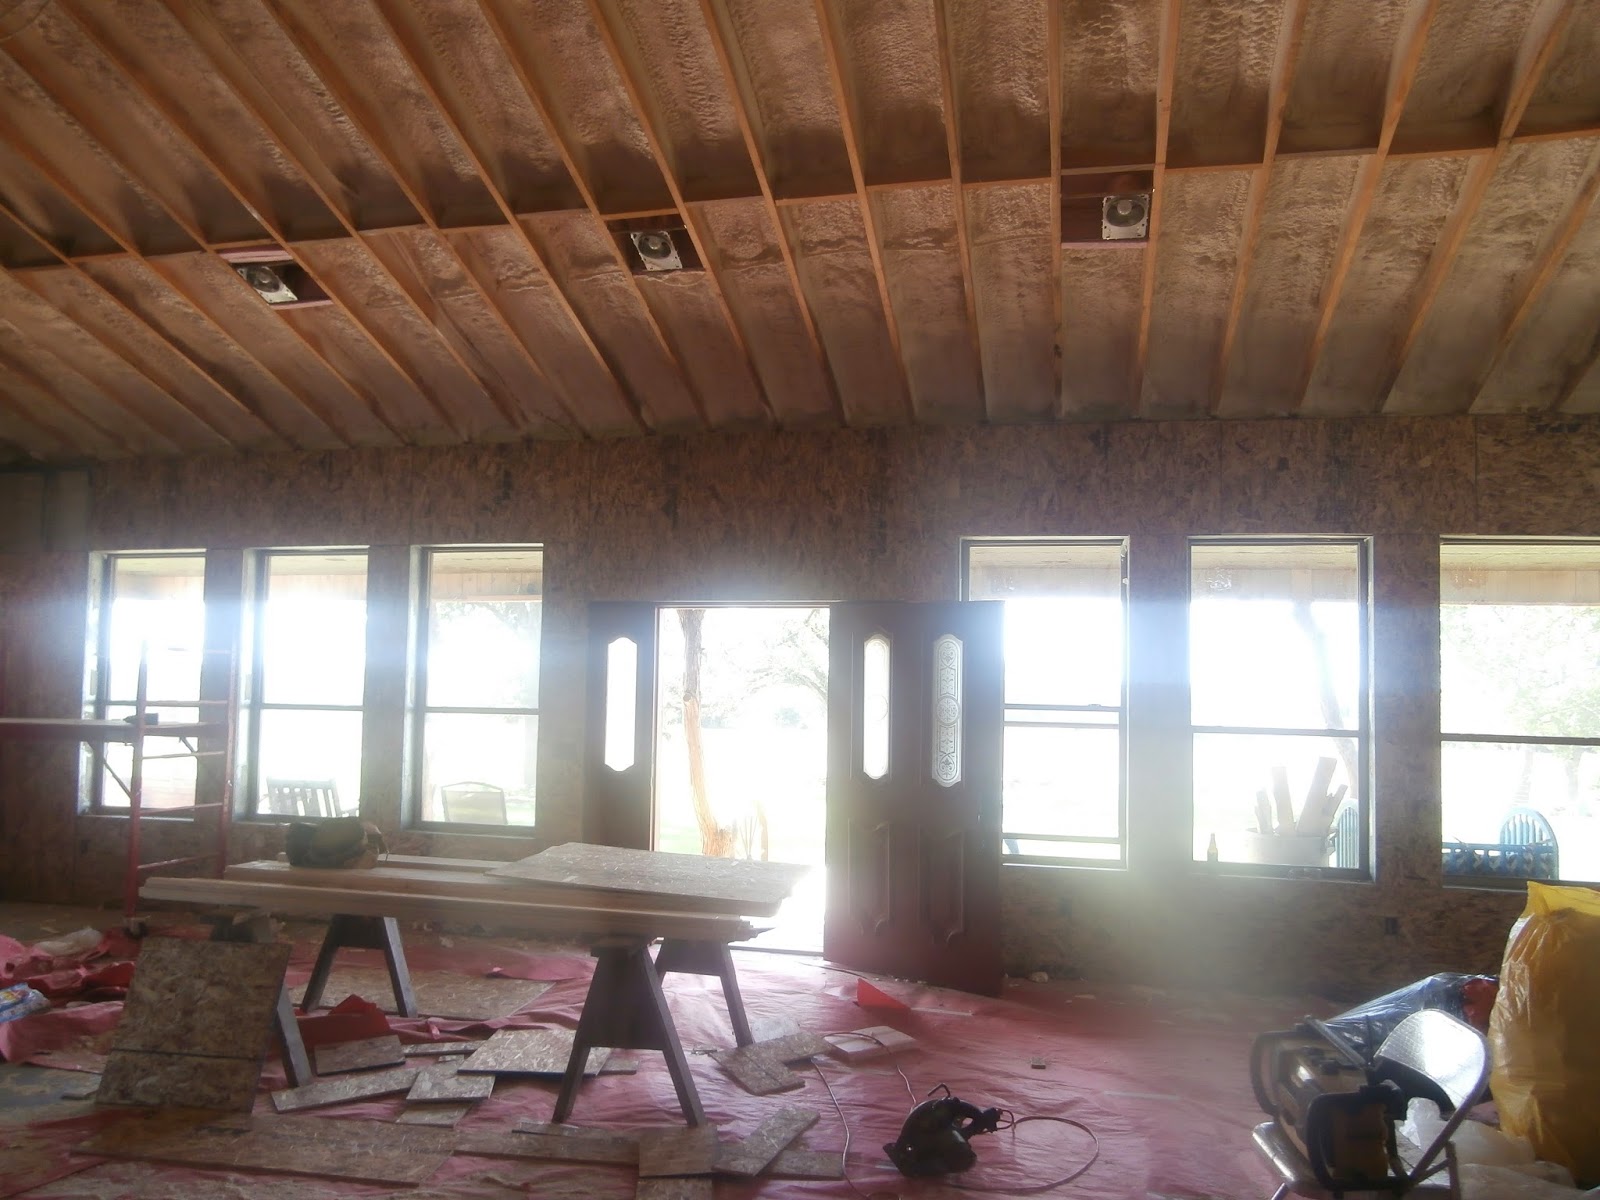
We have been busy trying to figure out what we are planning for each room when it comes to wall coverings. We have a ton of antique tin that we are trying to use but the catch is you have to figure out how to make it work in whatever room you decide to put it because there is only a certain amount and you can not get more. ( in most cases)


Down the hallway to the back door we have put up wood to go behind the tin we will be putting up. The wood gives something for the tin to hold onto better than drywall would. but we have to put the wood pieces up and decide for sure where the tin will go before we can drywall up next to it.

This is the tin that we were originally thinking that we were going to put down the hallway as a wainscoting.

We have enough for it so that was a big part in our choice.

Originally we believe that the pattern had three pieces that went together. We have enough of the three pieces to go down the hall. We will have a ton of the crown piece left over to use in another room too.

So we decided to go for it and use all three pieces for a floor to ceiling tin down the hallway. Might as well!!

There will be tin on the ceiling in the library room too. Chris was able to get some of the wood on the ceiling but we have to make another trip to buy some more. We were able to buy the wood on sale for 15% off the last trip cost of $150.

This is the wall in the kitchen that Chris was able to get done. We are lacking 16 pieces to finish the top row but the person that we bought this from may be able to get more. Keeper's Antique Mall in Harrisonville MO is looking for some more for us!!!

This is what it looks like on the wall. I am not sure how I feel about the colors of it. The original thought was to paint it but now I kind of like it like this.....

Sunday, November 23, 2014

It's warm inside...at least for now.This

This weekend we spent trying to get heat temporarily in the house. It is tough to want to go out there and work when it is so cold!!! We got the pellet stove from Chris' dad and it may end up being what we use to run the radiant floor heat. Cost wise right now we just have to pay for the pellets and the electric and it is a warm 70 degrees.
The stove is sitting in the downstairs bathroom right now because we could vent it out that side without messing up the siding. We are building an outside room on the other side of this wall to put the boiler and equipment in it. The thought was that if we did use wood to heat the water then we would not have to haul the wood through the house.
Chris had to manufacture a duct to put on the top of the stove to help blow the air. This was made from some metal ducts that we already had in storage. We have been hauling them around for years!

This is what it ended up looking like when Chris was done. It did not take long at all to heat up the house!

The plumbing for the upstairs on the North side is done.
The upstairs bathroom is stubbed in. The vent still has to be ran though.

We didn't seem to get a whole lot done this weekend but with the help of heat things should go a bit quicker. If nothing else it will be nicer to work in a warm area when it is so cold outside.


Wednesday, November 12, 2014

Little bit of progress

We have been working on the little things around the house and the property. We have had to spend some of our weekends getting ready for colder weather. We have animals that needed to have a safe place to survive the Winter and food for them too. Now that the colder weather has hit we are trying to work on the house again. Chris was able to get the living room barn wood installed and the tin on the ceiling in that room. 


The barn wood on the front wall

The huge commercial refrigerator that we were able to buy at an online auction. It is a 30 cubic foot fridge with the compressor on the top. Manufacture suggested price was around $7000 but we bought it for $1550/ It had never been used and still has the plastic on it.

The living room.


The top of the fold down table. Chris and Hunter decided to torch the top of it to bring out the grain pattern and then sealed it.

We did manage to have a surprise birthday party for Chris' mom. We found out that over 50 people will fit in the living room and kitchen (without furniture anyway). We had tables set up to eat at and chairs to sit at. It was a ton of fun and the first real party in our house.
This is the back porch. The framing for the ramp was just being done in this picture but the ramp is complete now.

What the paint looks like on the back of the house.
We have been working on the interior plumbing of the house lately. It is tough to work on it during the week. Chris took a new position at work ( hoping he would have more time and be able to relax a bit) but he is still working 10 plus hours a day. At least he is home on weekends!

Tuesday, October 14, 2014

More of the inside...

When we tore down the old barn we were able to salvage the hay loft door. This door was designed to swing down and open the loft area for hay to be loaded. Chris and Hunter decided that it would make a cool table for when we have guests and need more table space. We put boards on the back of the barn wood to make the table top smooth and there were a few parts that needed to be repaired.

Chris put an edge around the whole thing and then we stuck it up on the wall where it will go. For now it is just screwed to the wall until we get the hinges and latches on it. All of the wood we used to repair it we already had.

This is Chris putting up some of the ceiling.

Now you can see where the hay loft door(now a table) is on the wall.

Add caption

We are trying to figure out the satin for the floor. We are trying areas that will be hidden in the hopes that we can figure out before we commit. So far, no luck finding what we want.

This is the door going into the laundry room. The bottom piece that is broken will be repaired. 

I thought it would be nice to have an area to put our dogs in when people are there. We have two very big dogs and not everyone likes big dogs so it is better to have somewhere to put them when people show up and they are already in the house.

Looking out at one side of the living room. We decided to do one side and then sift everything and do the other side.

Wednesday, October 8, 2014

Working on the living room walls


In the living room area, Chris has decided to go ahead and start on the walls. He put up wood to cover the studs and then I painted it black. The reason it is painted black is so that the barn wood that will go over it will not show the boards underneath if there are areas that have cracks.

There will be barn wood all along the walls that are not grain bin. 

The front side pre-paint.

Starting to put up some of the pieces of barn wood. 

We are adding a barn hay loft door to the wall that will be able to fold down and into a table. ( we like to have lots of people over all the time so it will be used often!) The barn wood came from a barn we tore down about a year ago. All the tin that will go on the ceiling also came from the same barn. The cost of all that we took from that barn cleanup was $500.

Today a new dumpster was delivered....by my youngest son :)

Maybe this will be the last one!!!

Monday, September 29, 2014

Spray foam insultation

 This past weekend Chris and his brother,Cale, began the process of putting in spray foam insulation. Thankfully, Cale is a spray tech and had the time to spend the weekend...plus a few more nights after work...helping Chris to get it all done.
The outside South corner of the house. This area will be built to hold the wood boiler and other equipment required for the radiant floor heating


This is the kitchen done.

This is the upstairs north grain bin.

.

The living room ceiling being sprayed.

Spraying in some of the pallet walls in the back of the house.

All in all, spray foam insulation cost a bit more in the beginning but it will be worth it in the long run. It cost around $8000 for the material to spray foam it. We got the labor for free ( thanks Cale!..brothers are the best). I also got the trim painted on the back, it was too dark to take pictures tonight though.


Tuesday, September 23, 2014

Finishing the outside

I have noticed that I have not touched too much on the amount that we have spent so far. After the electric and buying the spray foam insulation we have come up with a total of $47,860 so far on our 3200 square foot house. There are only a few more big ticket items left to buy and then the rest of it will be a few hundred at a time. That price includes the fixtures for the bathrooms, much of the walls and ceilings for the inside,the kitchen cabinets, the doors and hardware ( in and out), and many of the light fixtures, all of which are waiting patiently in storage!

The last few weekends we have worked on plumbing and finishing up the outside of the house. Not much you can take pictures of when it comes to plumbing. It really is not all that exciting!
Someone has to finish painting the trim on the back of the house.....*cough,cough* ME!

The deck on the back is done. We will be adding a handicap ramp on this deck but just haven't go to it yet. The siding is painted but again...the trim!

Side view of the front. The wagon wheels are at some point going to be the side railing for the front porch. We got most of them at a garage sale for $10 a piece.

Around the inside upper edge of the porch there will be a shelf. On that shelf will be a row of these old telephone insulators with lights under them all. We picked up the insulators at several auctions usually only paying $5 for a bucket of them.

Here is the front painted....the light is not great because it is early.

Monday, September 8, 2014

Fine tuning the front

These are the colors we picked for the front of the house! We were trying to make whatever we decided on go with the existing red barn and outbuilding. That same red is on the roof of the grain bins too. The main color of the siding will be a tan and the trim a dark brown. 

The leftover cutoffs from the porches were put to use around the top of the front porch to cover the I-beams on the inside. I cut over 150 of them to nail up.

This is what they looked like going up. The little silver screw heads int he tin will be painted.

Ta-da! The door looks much better painted!

The long view of the porch before adding the small pieces of wood.

The siding was added to the sides of the porch. and trimmed out with cedar. ( we have a ton of leftover cedar so we are using it where ever we can.)

The little pieces of cedar are all up and the tin on the soffit is up also. The front porch has three can lights in the ceiling but will also have a shelf around the outside edge and a row of small lights under old telephone insulators.